Thursday, April 30, 2015

Birthday Pool Party Invitations

Here are the birthday invitations for Tommy and Kelly's birthday pool party. I really like the shark, think I did a great job on it. I like the mermaid too, it really surprised me, it turned out better than I thought it would.

As you can see, I took out some information on the invitations, its gone for safety. The general public doesn't need to know when and where this pool party is happening, and they don't need my friends number. The one thing that I thought I could have made better was the gradient in the background. I thought the blue at the bottom may have been too dark, but you could still read the info after it was printed. My friend said the gradient looked fine.

I must go, have many things to do and a little one to look after; very busy, but please stay tuned. Happy Imagining!

Wednesday, April 15, 2015

The Birthday Shark

I've been busy, taking care of a baby is busy work. Right now, I'm designing a birthday party invitation for my Godson, Tommy, and Kelly, his little sister. Their birthdays are 5 days apart, but they are 6 years apart. This is the shark for the invitation, the theme is underwater because it's a pool party. For Kelly's portion of the invitation, the design theme will be mermaids.

I also have a wedding that I'm going to be in this Saturday for my very good friend, my Sis Janice. I'm tired, but I do promise that I will be coming back and blogging more. I know I say that a lot, but, I think things are starting to lighten up.

Stay tuned. Happy Imagining!

Tuesday, January 13, 2015

Looking Through the Barrel of a Canon

This is my Christmas present. I have wanted a DSLR for years, and found a good deal on this package. I got a camera - Canon EOS Rebel T5, 2 lenses and a camera bag; and the store even threw in a 16GB memory card.

Here is the inside of the bag.

The front of the Canon.

The back of the Canon.

I am still familiarizing myself with the camera. It is fun to practice by taking Pictures of Mara Jade and MadCat. Once the weather warms up a little, I can take Mara out for a walk and take some outdoor pictures.

Well, I better go, I hear my little one asking for me :-). Happy Imagining!


Friday, January 2, 2015

Happy New Year! Now to Get Back at It!

It has been a long time since I have posted on my blog. I was pregnant, then had my baby girl on October 17th. It is awesome, I love her very much! It can also be exhausting, which is to be expected since this is my first child.

I will be back with projects, I am starting to get back to normal and am getting use to toting a little one along with me. And, maybe someday, she will be my little helper.

My husband and I are Star Wars fans and named our daughter Mara Jade. He has read a lot of the expanded universe books, and that is how we came up with our daughters name. For anyone who has read the Star Wars books, they know Mara Jade is Luke Skywalker's wife. I won't go into her whole story, you can Google it.

Happy New Year to everyone. Happy Imagining!

Monday, June 2, 2014

Concrete Countertop Tutorial - Making the Countertops

There is a fix in this post about the paste wax and what it was used for. You will see what was originally written with a strikethrough through the words, and after is what was revised.
I know I said awhile back that I would have the tutorial for the kitchen project and the concrete countertops on here soon, and that was a few months back. I'm splitting the kitchen project into smaller tutorials, so there will be a few. This one is the start of the concrete countertops, so final pictures will be posted after awhile, I want to clean and de-clutter my kitchen before taking pictures of it... you know, so it looks nice. I'm not a slob, my kitchen is just well used and sometimes there is a spill or some dirty dishes... you know, like normal people's kitchens. Well, enough about my cleaning habits, onto the tutorial.

These first four pictures are of my husband placing together existing cabinets to make an island. We had a peninsula of cabinets and decided that we did not like the layout and we would much rather have an island, plus, where the peninsula was connected to the sink counter was where the dishwasher had to go. Yes, we didn't have a dishwasher when we moved in, but it didn't deter us.


Here is our new hot glue gun. My little pink one wasn't going to cut it for this project. We used the hot glue gun to glue together some wood slats to make the template for the molds, as you can see above in the first four pictures. The molds are the next four pictures.


After gluing down the boards for the molds and adding a bead of silicone to the edges to round out the corners of the countertops, we added paste wax to the whole mold to make sure the concrete would release from the mold easily. After gluing down the boards for the molds, my husband added a layer of the paste wax to all of the corners of the countertops. This is so the bead of silicone can be rounded out with the edge of a PVC pipe (to give it a nice edge) and the excess silicone can be pulled away easily from the boards.


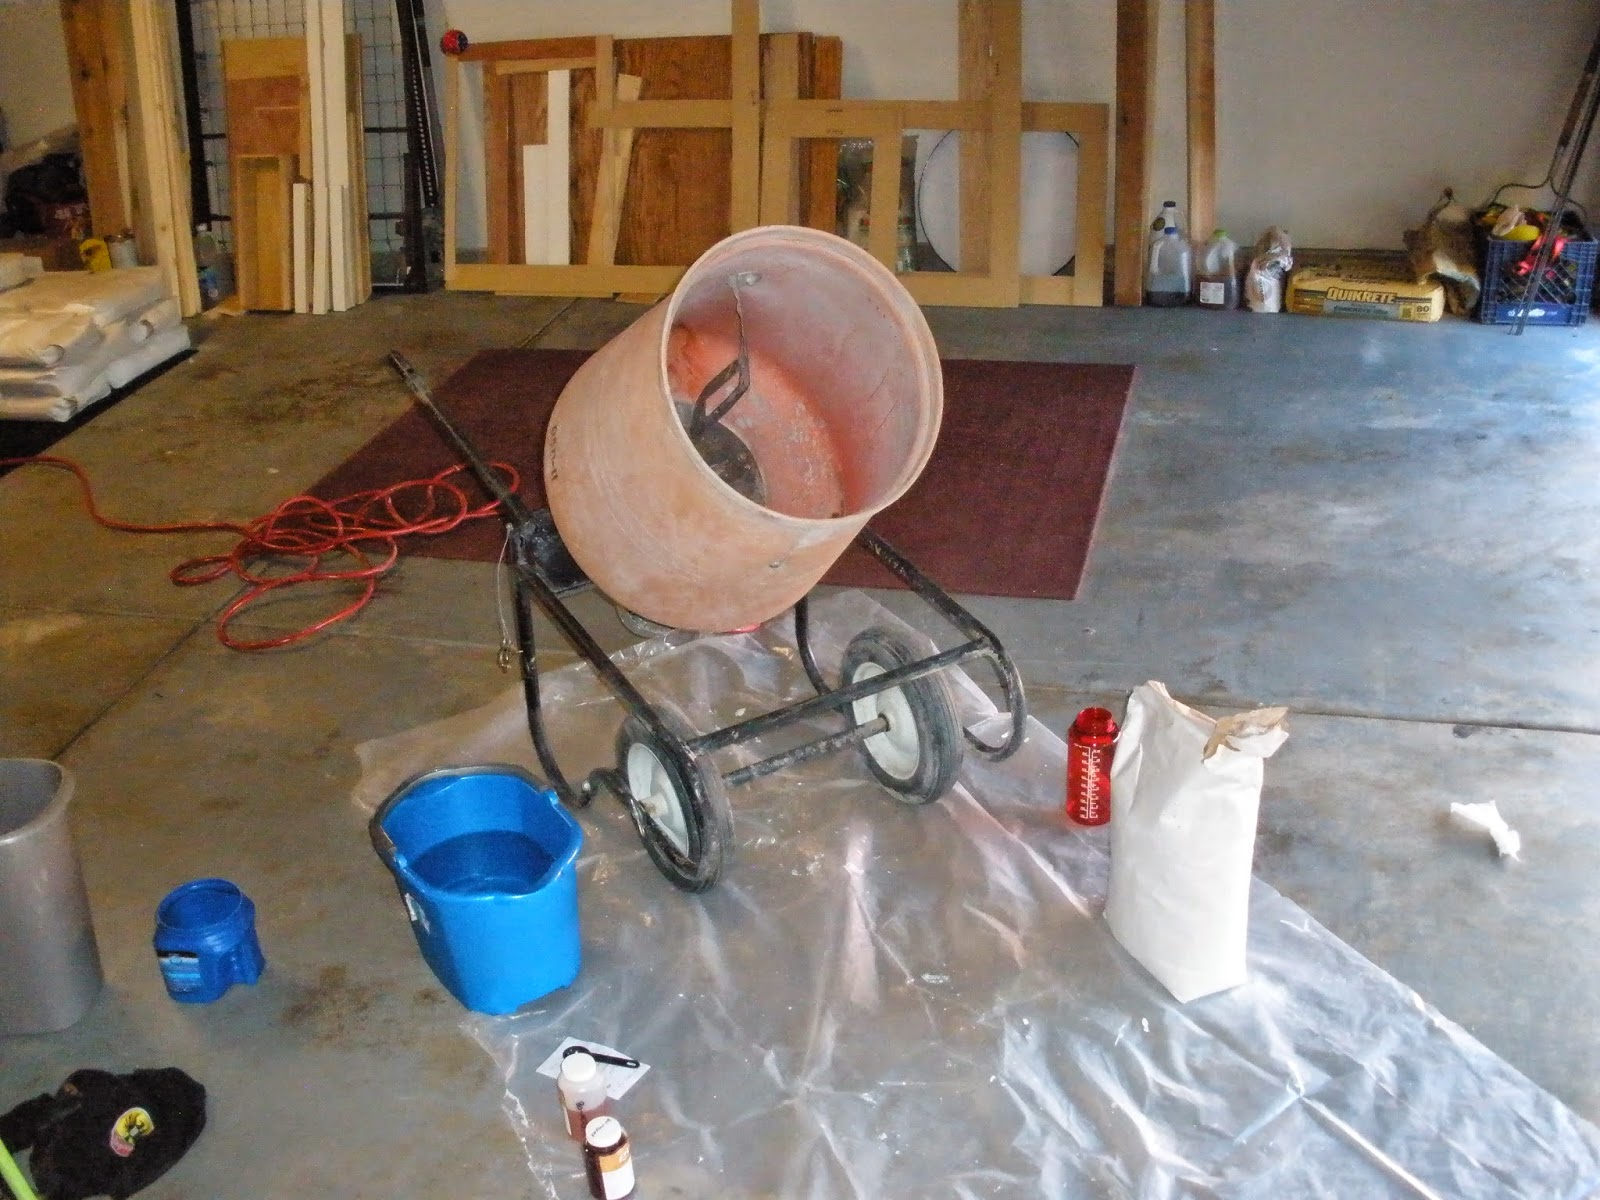
Here's the concrete mixer that we rented from The Home Depot.


Here is James mixing up the concrete, it is a dusty job.


We had to pour the concrete real fast, so I didn't get many pictures of that. We needed a textured roller, so we use package tape and taped straws to a paint roller so it would put bumps into the wet concrete.


Here's James pouring some concrete, you can see the bars in the countertop for the sink. We put the bars on either side of the sink to reinforce the thinner parts of the countertop.


After pouring, we covered the molds with plastic so it wouldn't dry out so fast.


So, after the countertops set, we took them out of their molds and checked to see how they turned out.


We then mixed up some cement, which is concrete without the aggregate. The cement is used to fill in little pock marks left from air bubbles.


I have pictures of the countertops mounted with a clear, shiny epoxy coat on them. I didn't get any pictures of us applying the epoxy coat because we had to work real fast on that process before the epoxy set. The next post will be final pictures of the countertops mounted in the kitchen.

Please stay tuned. Happy Imagining!

Friday, May 16, 2014

Some Self Promoting... Check Out My Sites

I decided to do a little self promoting today. Check out my Facebook page facebook.com/caliradan. You can also follow me on Twitter twitter.com/caliradan, and on Instagram instagram.com/caliradan. I am getting back my energy, so there will be more posts. Of course, I have to warn you, there may be more posts about baby stuff.

Stay tuned. Happy Imagining!

Wednesday, May 14, 2014

Space... The Final Frontier... Again

This is an update on a post I did before. The title was "Space... The Final Frontier" and it was posted on 02/13/14. I stated in my post that this was a painting that my Father didn't finish. Awhile back, I found out from my Brother that my Dad painted this specifically for a background image for displaying his spaceship models.

I will be back with more post, please stay tuned. Happy Imagining!

Friday, May 2, 2014

The Drawing Bag for My Low Energy Moments

OK, I know I haven't posted anything on my blog for awhile. My excuse is I've been super tired lately because I'm pregnant, any energy that I have I've been spending it on things that I have to do (cleaning, cooking, grocery shopping and other chores). Luckily, I haven't had the dreaded morning sickness, just super exhausted; for example, I'll carry a load of laundry up and down the stairs and feel like I just ran around the block.

Well, I will get on with what I was going to post about. I am starting spring cleaning throughout my house. Yes, I'm finally gaining more energy and decided I should do some spring cleaning, luckily, I have the help of my husband and mother. I am going through my craft room and I run across my little duffel bag with a small sketch book and a pen/pencil bag (of course with the iconic John Belushi from Animal House). On my off time, while I'm sitting and relaxing, I'm going to start sketching again.

Here's a picture of the outside of the bag.

Well, I need to get going. Happy Imagining!
 

Thursday, April 24, 2014

Another Test... Hopefully I Have This Fixed


This is another test, I need to see if I have linked everything properly. But, please do enjoy this picture of a rose bush that's in the backyard of a place I use to live.

Please stay tuned. Happy Imagining!

Friday, April 18, 2014

Testing...

This is a test, I'm trying to fix all of my connections to different social media sites.

But, enjoy this picture. Happy Imagining!
Blood Moon Lunar Eclipse, April 15, 2014

I took pictures of the lunar eclipse on April 15; they didn't come out that great, but someday, I hope to have a good camera to take great pictures. This was one of the best pictures that I took.

I've been busy lately, sorry I haven't been posting as much as I usually do. I will be more active with this blog. Happy Imagining!

Monday, April 7, 2014

Sorry I Haven't Been Around Lately, But, I Will Be Back... Enjoy This Palm Tree

I have been busy lately, but, I will be back soon with projects. Here is a picture of one of my favorite trees. I live in Colorado and, obviously, palm trees don't grow here. This is a picture from Mexico, they would climb the trees to harvest the rip coconuts, it was really cool to watch.

Well, I must go. I do want to say to all of the people that read my blog, thank you. Happy Imagining!

Thursday, March 27, 2014

Downtown Denver Buildings, Old and New

This is a picture from Downtown Denver, from when I would take walks to Downtown from our old apartment. I am standing right next to The Brown Palace and looking across the street at several buildings. I like this shot because is has buildings from different eras.

I have been busy with different things and will be back very soon with the concrete countertop tutorial. Happy Imagining!

Tuesday, March 25, 2014

One of James' Paintings

Here is one of my husband's paintings he is working on. He painted the black and gold a few years ago. He picked the painting back up because he had a new idea for it; that sounds like me, I start something, my inspiration just stops, then, all of a sudden, I get a great idea for it. As you can see, it is a skeletal looking design over the previous artwork.


Here, you can see James putting the black BB's on top of the painting. We had left over epoxy, so that is what he used to "glue" the BB's to the canvas.

And, here is the VP of Fluff inspecting the artwork, he approves.

I will be back with the tutorial for the countertops, I've been busy lately. Happy Imagining!