I know I said awhile back that I would have the tutorial for the kitchen project and the concrete countertops on here soon, and that was a few months back. I'm splitting the kitchen project into smaller tutorials, so there will be a few. This one is the start of the concrete countertops, so final pictures will be posted after awhile, I want to clean and de-clutter my kitchen before taking pictures of it... you know, so it looks nice. I'm not a slob, my kitchen is just well used and sometimes there is a spill or some dirty dishes... you know, like normal people's kitchens. Well, enough about my cleaning habits, onto the tutorial.
These first four pictures are of my husband placing together existing cabinets to make an island. We had a peninsula of cabinets and decided that we did not like the layout and we would much rather have an island, plus, where the peninsula was connected to the sink counter was where the dishwasher had to go. Yes, we didn't have a dishwasher when we moved in, but it didn't deter us.
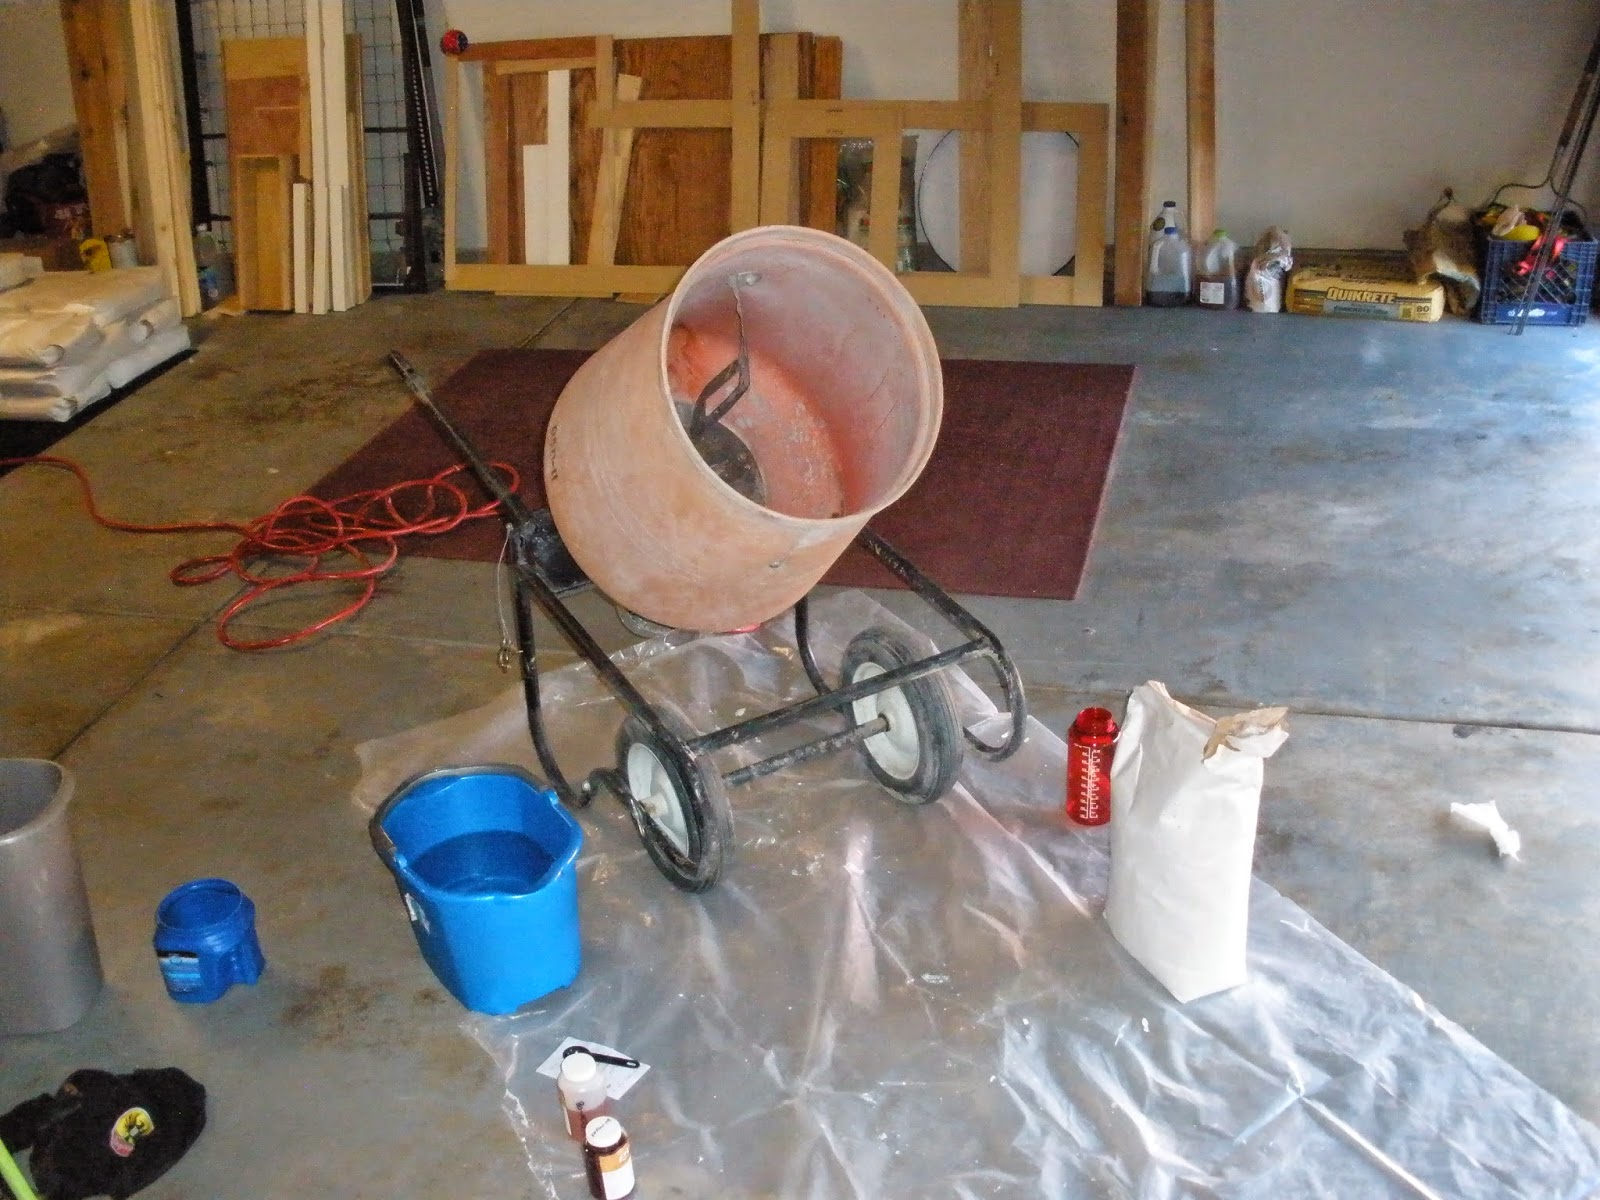
Here's the concrete mixer that we rented from The Home Depot.
Here is James mixing up the concrete, it is a dusty job.
We had to pour the concrete real fast, so I didn't get many pictures of that. We needed a textured roller, so we use package tape and taped straws to a paint roller so it would put bumps into the wet concrete.
Here's James pouring some concrete, you can see the bars in the countertop for the sink. We put the bars on either side of the sink to reinforce the thinner parts of the countertop.
After pouring, we covered the molds with plastic so it wouldn't dry out so fast.
So, after the countertops set, we took them out of their molds and checked to see how they turned out.
We then mixed up some cement, which is concrete without the aggregate. The cement is used to fill in little pock marks left from air bubbles.
I have pictures of the countertops mounted with a clear, shiny epoxy coat on them. I didn't get any pictures of us applying the epoxy coat because we had to work real fast on that process before the epoxy set. The next post will be final pictures of the countertops mounted in the kitchen.
Please stay tuned. Happy Imagining!


